No Mercy is Balrog's second V-Trigger in Street Fighter V.
| Street Fighter V |
|---|
Description[]

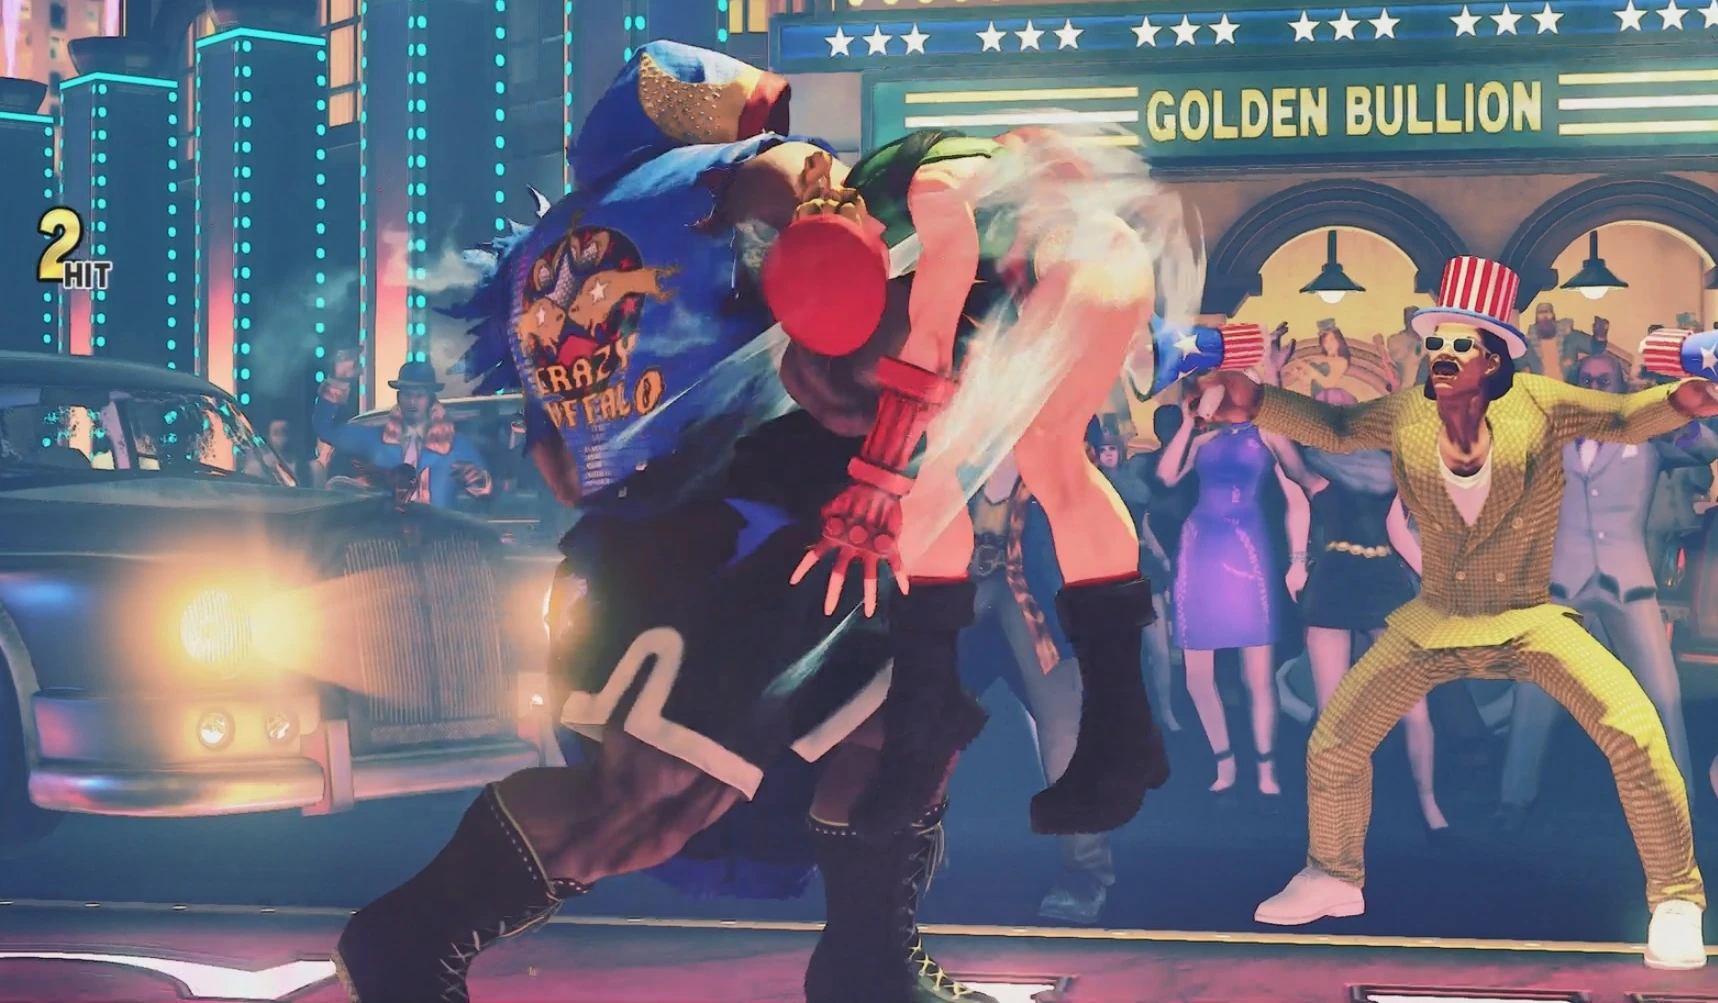
Balrog punching Cammy in the solar plexus during B3.
Executed by pressing Heavy Punch and Heavy Kick simultaneously, Balrog flexes his bicep as steam arises from his body, signifying his increase in intensity. While this V-Trigger is active, Balrog gains access to a command grab called B3.
By pressing Heavy Punch and Heavy Kick simultaneously near an opponent, Balrog grabs his opponent and pulls them in close. He first delivers a huge headbutt to his opponent's head, putting them in a daze. Balrog then hits his opponent with a punch to their sternum, followed by an uppercut to their solar plexus, launching them upward. As his opponent is about to drop down, Balrog hit them with a vicious hook to the back of their head, dropping his opponent on their stomach right in front of him
Tactics[]
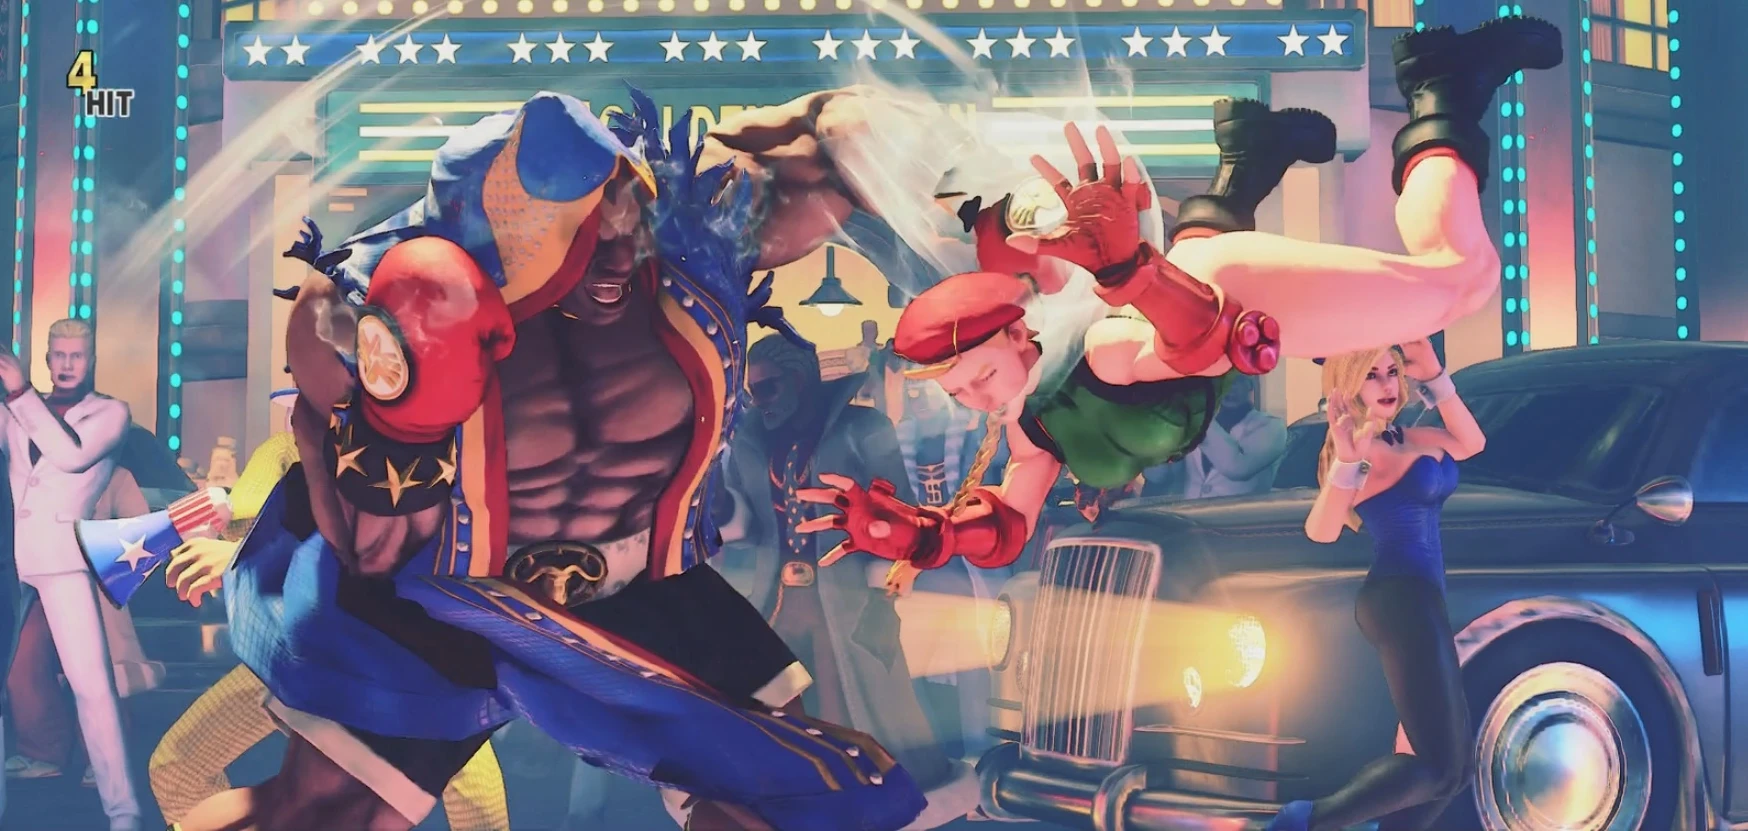
Balrog finishing off Cammy with a devastating punch at the end of B3.
This V-Trigger is 2-bars, making easier for Balrog to obtain while taking less damage. It is also possible that he can use his second V-Trigger twice in one round. When this V-Trigger is active, Balrog's pressure game is amplified drastically, making him even scarier when he's up close. While it doesn't give Balrog the ability to carry his opponent into the corner like his first V-Trigger, it gives him a tool to bypass their defenses and enforce his will on them. By itself, his command grab inflicts 200 damage and 350 stun, making this move one of the most rewarding command throws in the game.
Because it's a command throw, this move cannot be blocked. It is great for keeping the opponent guessing, as well as utilizing tick throws for the duration of the V-Trigger. While Balrog can use this move to break their defenses and deal a large chunk of damage, it's still has drawbacks. Like most command throws, B3 has a long recovery if the move whiffs, leaving Balrog vulnerable to a heavy punish. The move's startup and range are not as good as other characters' command grabs. Additionally, Balrog doesn't get much okizeme afterwards.
However, Balrog can use his command throw in combination with his special attacks to intensify his offensive pressure. By constantly suffocating his opponent with dash punches, he surprise them every so often with his command throw. It can also be cancelled into via his target combos that cancel into activation, letting Balrog convert safe hits into the okizeme and stun and making the opponent fear even more aspects of his mix-up game.
Gallery[]
")
")
")
Trivia[]
- B3 is a modified version of his Horn Breaker command grab in Ultra Street Fighter IV's OMEGA Mode, which was in turn a special move variant of his Dirty Bull Ultra Combo. All three attacks offer Balrog a command grab that deals average damage but substantial stun, but require a resource to be used.
- "No Mercy" was also a recurring term in Super Gem Fighter Mini Mix.
| Balrog's Move List | |
|---|---|
| Throws | Head Bomber • Lever Break • Dirty Bomber • Dirty Shot |
| Unique Attacks | Charge Up • Under Impact • Hard Smasher • Hard Pressure • Stomping Combo |
| V-Skills | KKB • FFB |
| V-Reversal | Buffalo Head |
| V-Shift Break | Buffalo Breaker |
| V-Triggers | Crazy Rush • No Mercy |
| Special Attacks | Dash Straight • Dash Upper • Turn Punch • Buffalo Head • Dash Low Straight • Dash Low Smash • Screw Smash • Horn Breaker • Wild Smash • Dash Low Upper • Reflect Glove |
| Super Combos | Crazy Buffalo • Gigaton Blow • Dash Ground One-Two |
| Super Arts | Crazy Buffalo |
| Ultra Combos | Violent Buffalo • Dirty Bull |
| Critical Arts | Gigaton Blow |
| Exceed | Ultimate Wild Smash |